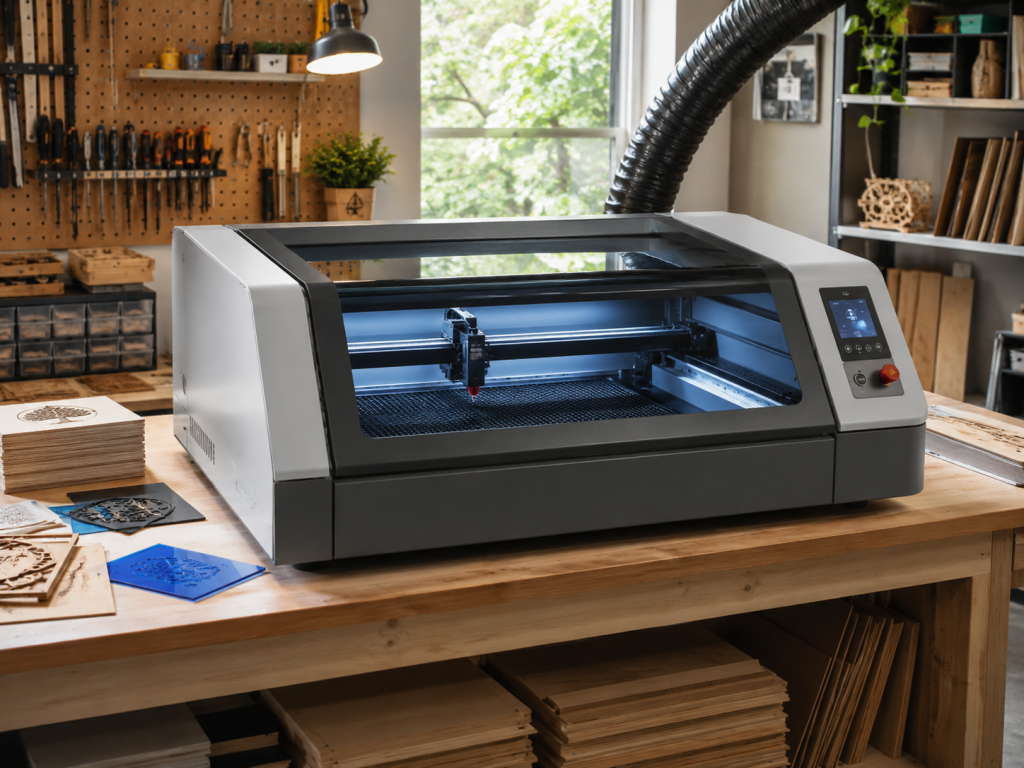
An enclosed CO2 laser cutter and engraver is one of the most versatile digital fabrication tools in a modern makerspace. At first glance, it looks a little like a large printer with a glass lid, a work bed, a moving laser head, and an exhaust system. But instead of putting ink onto paper, it uses a focused beam of infrared light to cut, engrave, score, and mark a wide range of materials.
For makers, artists, students, small businesses, and product designers, a CO2 laser is a bridge between digital design and physical objects. You can create a design on a computer, send it to the machine, and turn flat materials like wood, acrylic, leather, paper, cardboard, rubber, and fabric into finished products, prototypes, signs, packaging, art, or custom gifts.
How a CO2 Laser Works
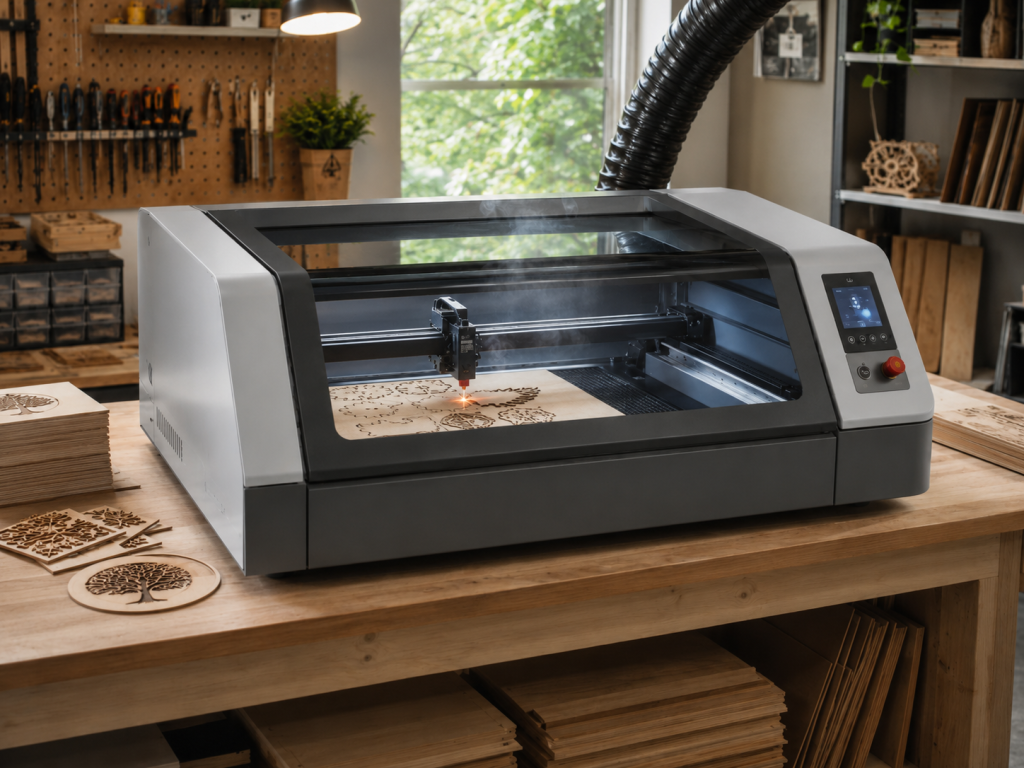
A CO2 laser uses a tube filled with carbon dioxide gas, along with other gases, to generate a powerful infrared laser beam. That beam is reflected through mirrors, focused through a lens, and directed onto the surface of the material. The focused energy heats, vaporizes, burns, melts, or marks the material depending on the settings.
The “enclosed” part matters. Unlike open-frame hobby lasers, enclosed CO2 lasers are built into a cabinet with a lid, viewing window, interlocks, ventilation, and a work bed. This improves safety, contains smoke and debris, helps control the cutting environment, and makes the machine more appropriate for shared workshops, schools, libraries, and small production spaces.
A typical enclosed CO2 laser includes:
- A laser tube or laser source
- Mirrors and a focusing lens
- A moving gantry and laser head
- A honeycomb or knife-blade cutting bed
- Exhaust ventilation or filtration
- A lid or viewing window
- A control panel or computer connection
- Software for importing artwork, setting power and speed, and sending jobs to the machine
What Can You Do With It?
A CO2 laser is useful because it can work in several different modes. The same machine can cut through material, engrave the surface, score fold lines, mark objects, or combine several operations in one job.
Cutting
Cutting uses enough power to go all the way through the material. This is how you make shapes, signs, ornaments, templates, boxes, models, stencils, jewelry components, architectural models, packaging inserts, and flat-pack assemblies.
Common cutting materials include plywood, MDF, acrylic, chipboard, cardboard, paper, leather, felt, fabric, and some laser-safe plastics.
Engraving
Engraving removes or darkens the surface of the material without cutting all the way through. This is used for logos, text, illustrations, textures, photographs, personalization, labels, and decorative patterns.
Engraving works especially well on wood, leather, acrylic, glass, coated metals, anodized aluminum, rubber, slate, stone, and some ceramics. On wood and leather, it creates a burned or darkened mark. On acrylic and glass, it creates a frosted effect. On coated or anodized metals, it removes the surface coating to reveal contrast underneath.

Scoring
Scoring is a lighter line cut that does not go all the way through the material. It is useful for fold lines, layout marks, decorative line art, map lines, outlines, or assembly guides.
Scoring is often used when making packaging, paper craft, architectural models, display pieces, or anything that needs precise bend or placement marks.
Marking
Marking changes the surface appearance without removing much material. This can include lightly darkening wood, etching coated surfaces, or creating contrast on specialty laser-marking materials.
On a CO2 laser, bare metal usually requires a marking spray, coating, or special surface treatment. CO2 lasers are excellent for organic materials and acrylic, but they are not the first choice for deep engraving bare metal. Fiber lasers are usually better for direct metal engraving.
Raster vs. Vector Work
Most laser jobs use either raster artwork, vector artwork, or both.
Raster engraving works like an inkjet printer, moving back and forth across the surface to engrave images, photos, textures, and filled areas.
Vector cutting follows lines and paths. It is used for cutting outlines, scoring lines, and clean geometric shapes.
A good laser project often combines both: engrave the artwork first, then cut the object out.
Common Projects Made With a CO2 Laser
People use enclosed CO2 lasers for both practical and creative work. Some of the most popular projects include:
- Custom wood signs
- Acrylic signs and edge-lit panels
- Leather patches, wallets, tags, and notebook covers
- Personalized gifts
- Ornaments and holiday décor
- Coasters
- Product packaging
- Display stands
- Awards and plaques
- Architectural models
- Educational kits
- Jewelry and earrings
- Rubber stamps
- Stencils
- Board game parts
- Cabinet labels and shop organization tags
- Templates and jigs
- Small-batch product prototypes
- Event signage
- Name badges
- Art panels and layered wall pieces
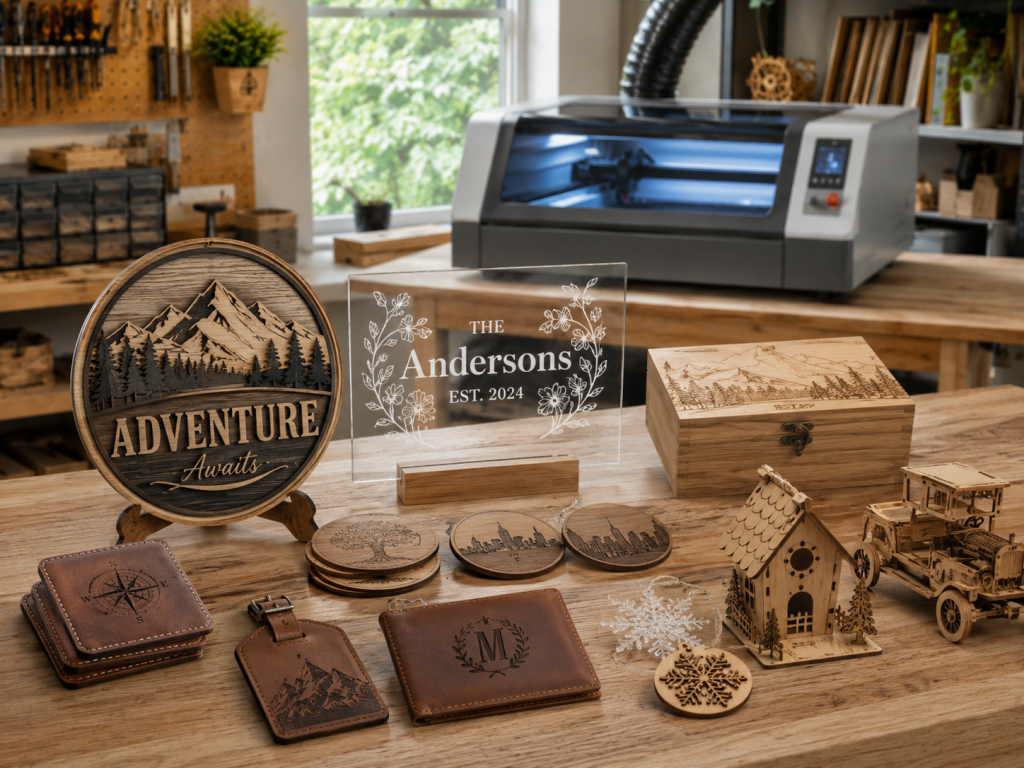
For small businesses, a CO2 laser can be especially powerful because it allows fast customization. A single design can become a batch of products, and each item can be personalized with names, dates, logos, artwork, or local imagery.
Material Handling: What Works and What to Avoid
Material choice is one of the most important parts of laser work. The machine can only perform safely and cleanly if the material is compatible with the laser.
Materials commonly used with CO2 lasers
CO2 lasers are especially good for:
- Wood and plywood
- MDF
- Acrylic
- Paper and cardstock
- Cardboard
- Leather
- Natural fabrics
- Cork
- Rubber made for laser engraving
- Glass, for surface etching
- Slate and some stone
- Coated metals
- Anodized aluminum
- Certain laser-safe plastics
Each material behaves differently. Wood can char. Acrylic can flame-polish and create a clean glossy edge. Leather can smell and darken. Paper cuts quickly but can ignite if settings are wrong. Glass does not cut with a typical CO2 laser, but it can be etched.
Materials to avoid
Never assume a material is safe just because it fits inside the machine. Some materials release dangerous fumes, corrosive gases, or toxic particles when lasered.
Avoid cutting or engraving:
- PVC or vinyl
- Unknown plastics
- Chlorine-containing materials
- Fiberglass
- Carbon fiber composites
- Materials with unknown adhesives
- Polycarbonate, unless specifically approved by your machine and safety process
- Treated, painted, or coated materials unless you know exactly what is in the coating
- Anything with unknown fumes or unknown composition
PVC and vinyl are especially dangerous because they can release corrosive and toxic fumes that harm people and damage the machine.
A good rule: if you do not know what the material is, do not laser it until you verify it.
Best practices for material handling
Use flat, clean material. Keep the bed free of debris. Remove protective film when appropriate, but leave masking on materials where it helps reduce smoke staining. Test settings on a scrap piece before running a final job. Keep a log of what worked: material type, thickness, speed, power, focus, number of passes, and final result.
Always supervise the machine while it is running. Lasers use heat, and heat can start fires. Good ventilation, air assist, proper settings, and an attentive operator are essential.
Why Enclosure, Ventilation, and Safety Matter
A laser cutter is not just a fancy printer. It is a computer-controlled heat source strong enough to burn, cut, and vaporize material.
The enclosure helps contain the beam, smoke, and debris. Ventilation removes fumes from the work area. Air assist helps blow smoke away from the cut line and can reduce flare-ups. The viewing window lets you monitor the job without opening the lid. Emergency stop controls and lid interlocks add another layer of protection.
Safe laser use means:
- Know your material
- Use ventilation every time
- Never leave the machine unattended
- Keep the bed clean
- Keep a fire extinguisher nearby
- Use the correct settings
- Learn the machine’s startup, shutdown, and emergency procedures
- Start with small tests before running large jobs
- Follow the shop’s training and certification process
In a shared makerspace, training is not just about protecting the machine. It is about protecting everyone in the building.
A Brief History of the CO2 Laser
The CO2 laser was invented in the 1960s by C. Kumar N. Patel while he was working at Bell Labs. It became important because it could produce high-power infrared light efficiently, making it useful for industrial, scientific, medical, and defense applications.
By the 1970s and 1980s, CO2 lasers became more common in industrial cutting, welding, engraving, and manufacturing. They were large, expensive, and mostly used by factories or specialized shops.
Over time, several trends brought CO2 lasers into smaller studios and community makerspaces:
- Computer numerical control, or CNC, became more affordable.
- Motion systems became more precise and compact.
- Laser tubes and power supplies became less expensive.
- Design software became easier to use.
- Desktop fabrication became popular through schools, libraries, fab labs, and maker communities.
- Small businesses discovered laser engraving as a practical way to personalize products.
Today, enclosed CO2 lasers are common tools in makerspaces, school labs, sign shops, craft businesses, design studios, and prototyping workshops. They sit in the same family of digital fabrication tools as 3D printers, CNC routers, vinyl cutters, and UV printers.
Why CO2 Lasers Became a Maker Tool
The rise of CO2 lasers in maker culture happened because they solve a very common problem: how do you turn a digital idea into a real object quickly?
A 3D printer builds objects slowly, layer by layer. A CNC router can carve and cut, but it often requires fixturing, bits, dust collection, and more setup. A CO2 laser can take a flat sheet of material and produce a precise, finished part in minutes.
For many projects, especially signs, boxes, stencils, flat-pack models, ornaments, and custom gifts, a laser is one of the fastest ways to go from design to finished object.
It also has a low barrier to experimentation. A beginner can start with a simple name tag or coaster. An advanced user can create complex layered art, living hinges, press-fit assemblies, product packaging, multi-material signs, and small production runs.
The Best Ways to Learn How to Use a CO2 Laser
The best way to learn is hands-on, with supervision, using real materials and simple projects.
1. Start with safety and machine orientation
Before making anything, learn the machine layout, ventilation system, emergency stop, fire safety process, material rules, focus procedure, and software workflow.
2. Learn the basic vocabulary
Understand the difference between cutting, engraving, scoring, raster, vector, speed, power, frequency, focus, kerf, pass, masking, air assist, and material thickness.
3. Run a material test grid
A test grid is one of the most useful beginner exercises. It lets you try different speed and power settings on one scrap piece so you can see what happens. This helps you avoid guessing on your final project.
4. Make a simple first project
Good first projects include a keychain, name badge, coaster, small sign, bookmark, ornament, or simple box. These teach the full workflow without overwhelming you.
5. Learn vector design
Most laser cutting depends on clean vector files. Learn the basics of SVG, DXF, PDF, line weight, closed shapes, grouping, alignment, and layers. Programs like Adobe Illustrator, Inkscape, Affinity Designer, CorelDRAW, and LightBurn are commonly used.
6. Keep a settings notebook
Every material is different. Even two pieces of plywood from different suppliers may cut differently. Keep notes so your results become more consistent over time.
7. Move from flat projects to assemblies
Once you can cut and engrave reliably, start learning press-fit design, tabs and slots, kerf compensation, hinges, layered art, and multi-step jobs.
Recommended YouTube Channels for Learning
There are many laser channels online, but a few are especially helpful for beginners and intermediate users.
Laser Everything
Laser Everything is useful for learning laser concepts, settings, materials, safety, and techniques across CO2, fiber, diode, and UV lasers. It is especially good when you want to understand why settings work, not just copy numbers from someone else.
The Louisiana Hobby Guy
The Louisiana Hobby Guy is especially helpful for learning LightBurn, hobby laser workflows, test cards, libraries, layout, and practical project setup. If your shop uses LightBurn, this is a strong place to start.
xTool
The xTool channel is useful for people learning modern enclosed desktop lasers, especially xTool machines. It includes project ideas, setup guidance, and machine-specific demonstrations.
Makers Gonna Learn
Makers Gonna Learn is more craft-oriented, which makes it helpful for people coming from Cricut, vinyl, sublimation, and home craft backgrounds. It can be useful for project inspiration, especially if you want to understand how laser work fits into a broader handmade-product workflow.
When learning from YouTube, remember that settings do not transfer perfectly between machines. A video can show the process, but you still need to run your own tests on your own machine and material.
What Makes a Good Beginner Project?
A good beginner project should be small, low-cost, and easy to evaluate. It should use a known laser-safe material and include only one or two operations.
Good examples include:
- A wooden keychain with engraved initials
- A simple acrylic name plate
- A cardboard prototype
- A leather patch
- A small ornament
- A coaster
- A one-layer sign
- A material test card
Avoid starting with expensive materials, complex boxes, photo engraving, unknown plastics, or large jobs that take a long time. Learn the workflow first, then scale up.
What Makes a Great Laser Project?
Great laser projects usually combine design, material choice, and process control. The machine is precise, but it does not automatically make the design good. The best results come from understanding the material and designing for the process.
A great laser project often has:
- Clean vector artwork
- Proper material selection
- Tested settings
- Good contrast
- Thoughtful use of engraving and cutting
- Smooth assembly
- Minimal burn marks
- Proper finishing
- A clear purpose
For example, a simple wooden sign can become much more refined with layered plywood, engraved texture, acrylic inlay, painted backing, and carefully chosen fonts. A plain leather patch can become a premium product with clean artwork, consistent placement, and the right engraving depth.
Final Thoughts
An enclosed CO2 laser cutter and engraver is one of the most useful tools in a makerspace because it is precise, flexible, and approachable. It can cut parts, engrave artwork, personalize products, prototype ideas, and help people move from imagination to finished object quickly.
It is also a tool that rewards good habits. Learn the safety rules. Know your materials. Test your settings. Start small. Keep notes. Watch experienced makers. Ask questions. Then use the machine to make something useful, beautiful, personal, or entirely new.
Whether you are making your first keychain or developing a product line, the CO2 laser is a powerful creative tool for turning flat materials into real-world objects.
No responses yet